Private DNS Mode on Android is a feature that enhances the security and privacy of your internet connection by encrypting DNS queries. This mode prevents third parties from intercepting and reading your DNS requests, which are typically sent in plain text. By using Private DNS, Android users can ensure that their browsing activities remain confidential and protected from potential cyber threats.
Benefits of Using Private DNS on Android Devices
Using Private DNS on Android devices offers several advantages:
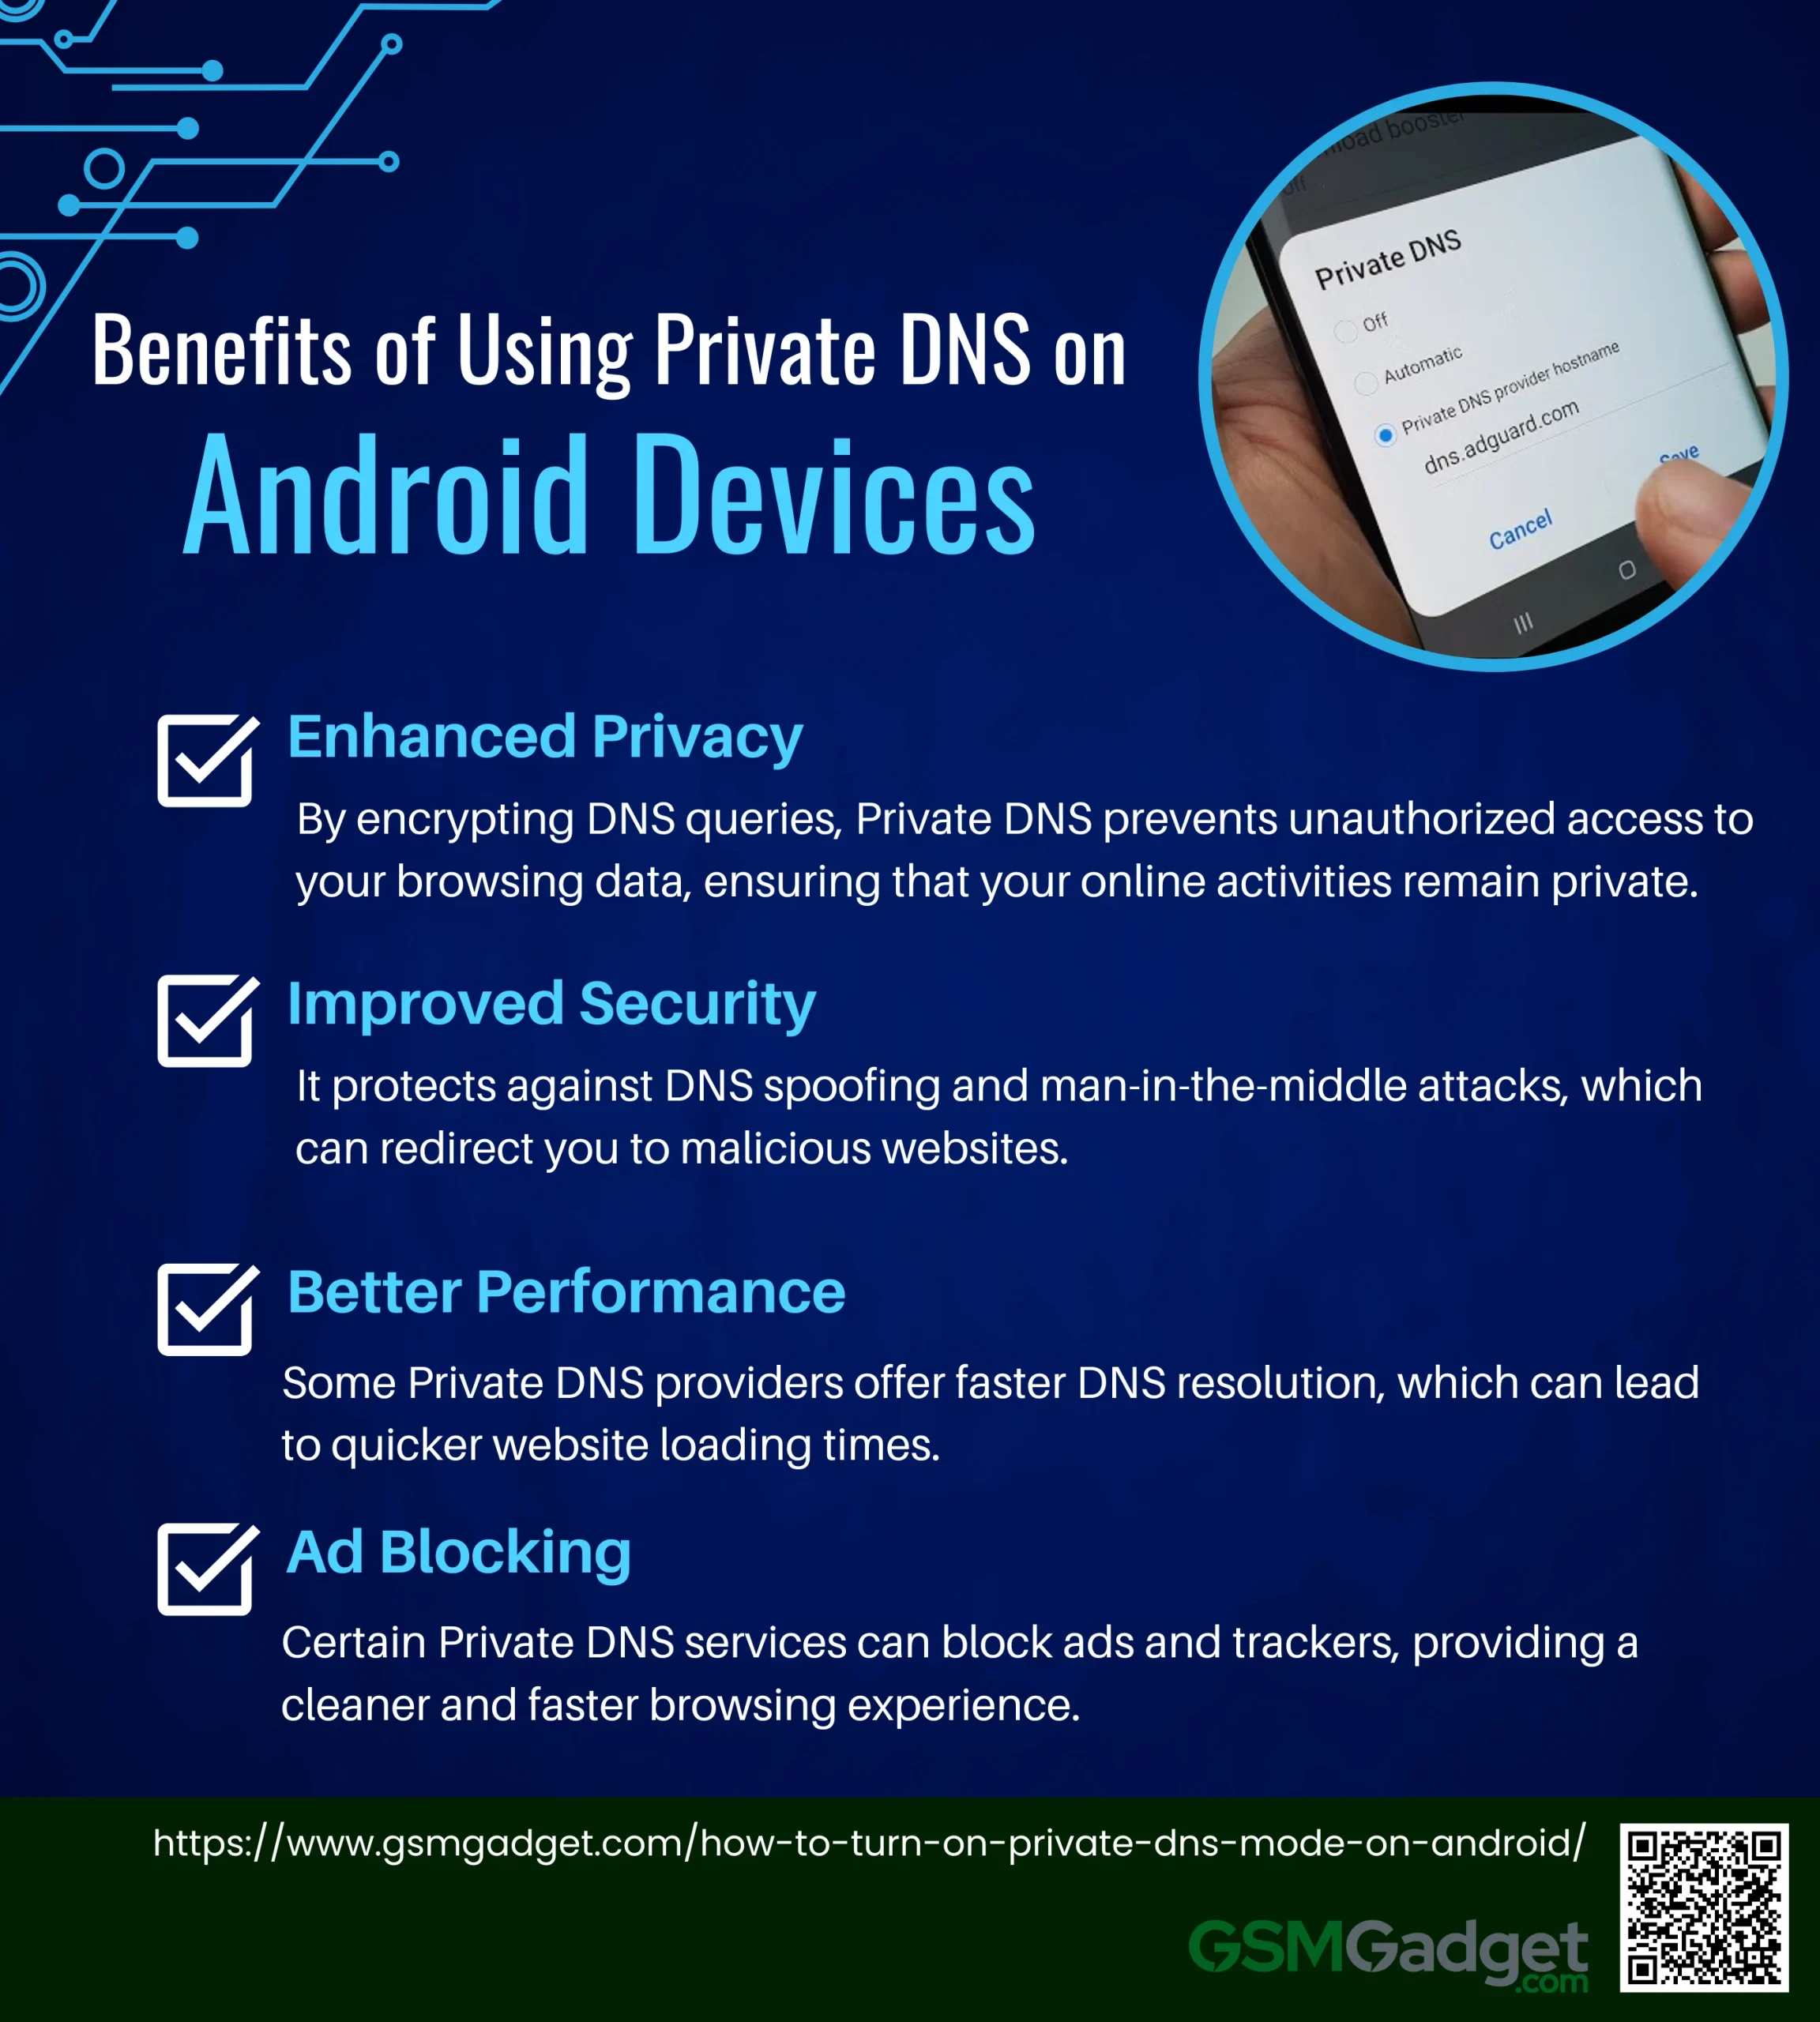
- Enhanced Privacy: By encrypting DNS queries, Private DNS prevents unauthorized access to your browsing data, ensuring that your online activities remain private.
- Improved Security: It protects against DNS spoofing and man-in-the-middle attacks, which can redirect you to malicious websites.
- Better Performance: Some Private DNS providers offer faster DNS resolution, which can lead to quicker website loading times.
- Ad Blocking: Certain Private DNS services can block ads and trackers, providing a cleaner and faster browsing experience.
How Private DNS Enhances Security
Private DNS Mode on Android significantly enhances security by encrypting DNS queries. This encryption ensures that your DNS requests, which translate domain names into IP addresses, are sent securely over the network. By doing so, it prevents unauthorized parties from intercepting and reading your DNS queries, thereby safeguarding your browsing activities from potential eavesdroppers and cyber threats.
Another critical security benefit of Private DNS is its protection against DNS spoofing and interception. DNS spoofing is a malicious attack where a hacker redirects your DNS queries to a fraudulent website, potentially leading to data theft or malware installation. By using Private DNS, your DNS queries are encrypted, making it much harder for attackers to intercept or alter them. This ensures that you are connected to the legitimate websites you intend to visit, thereby maintaining the integrity of your online activities.
Prerequisites for Enabling Private DNS Mode on Android
To enable Private DNS Mode on your Android device, there are a few prerequisites you need to consider:
- Android Version: Ensure your device is running Android 9.0 (Pie) or later. This version introduced the Private DNS feature, allowing users to encrypt DNS queries using the DNS-over-TLS protocol, thereby enhancing privacy and security.
- DNS Provider Hostnames: You will need the hostname of a DNS provider to configure Private DNS. Here is a list of popular and reliable DNS providers:
- Google DNS: dns.google
- Quad9: dns.quad9.net
- Cleanbrowsing DNS: security-filter-dns.cleanbrowsing.org
- Open DNS: 208.67.222.222
- NextDNS: 45.90.28.0.
Step-by-Step Guide to Enable Private DNS Mode on Android
In today’s digital age, privacy is a top concern for many smartphone users. Enabling Private DNS mode on your Android device can significantly enhance your online security by encrypting your DNS queries and preventing third parties from tracking your browsing habits. This step-by-step guide will walk you through the simple process of activating Private DNS on your Android device, ensuring a safer and more private internet experience.
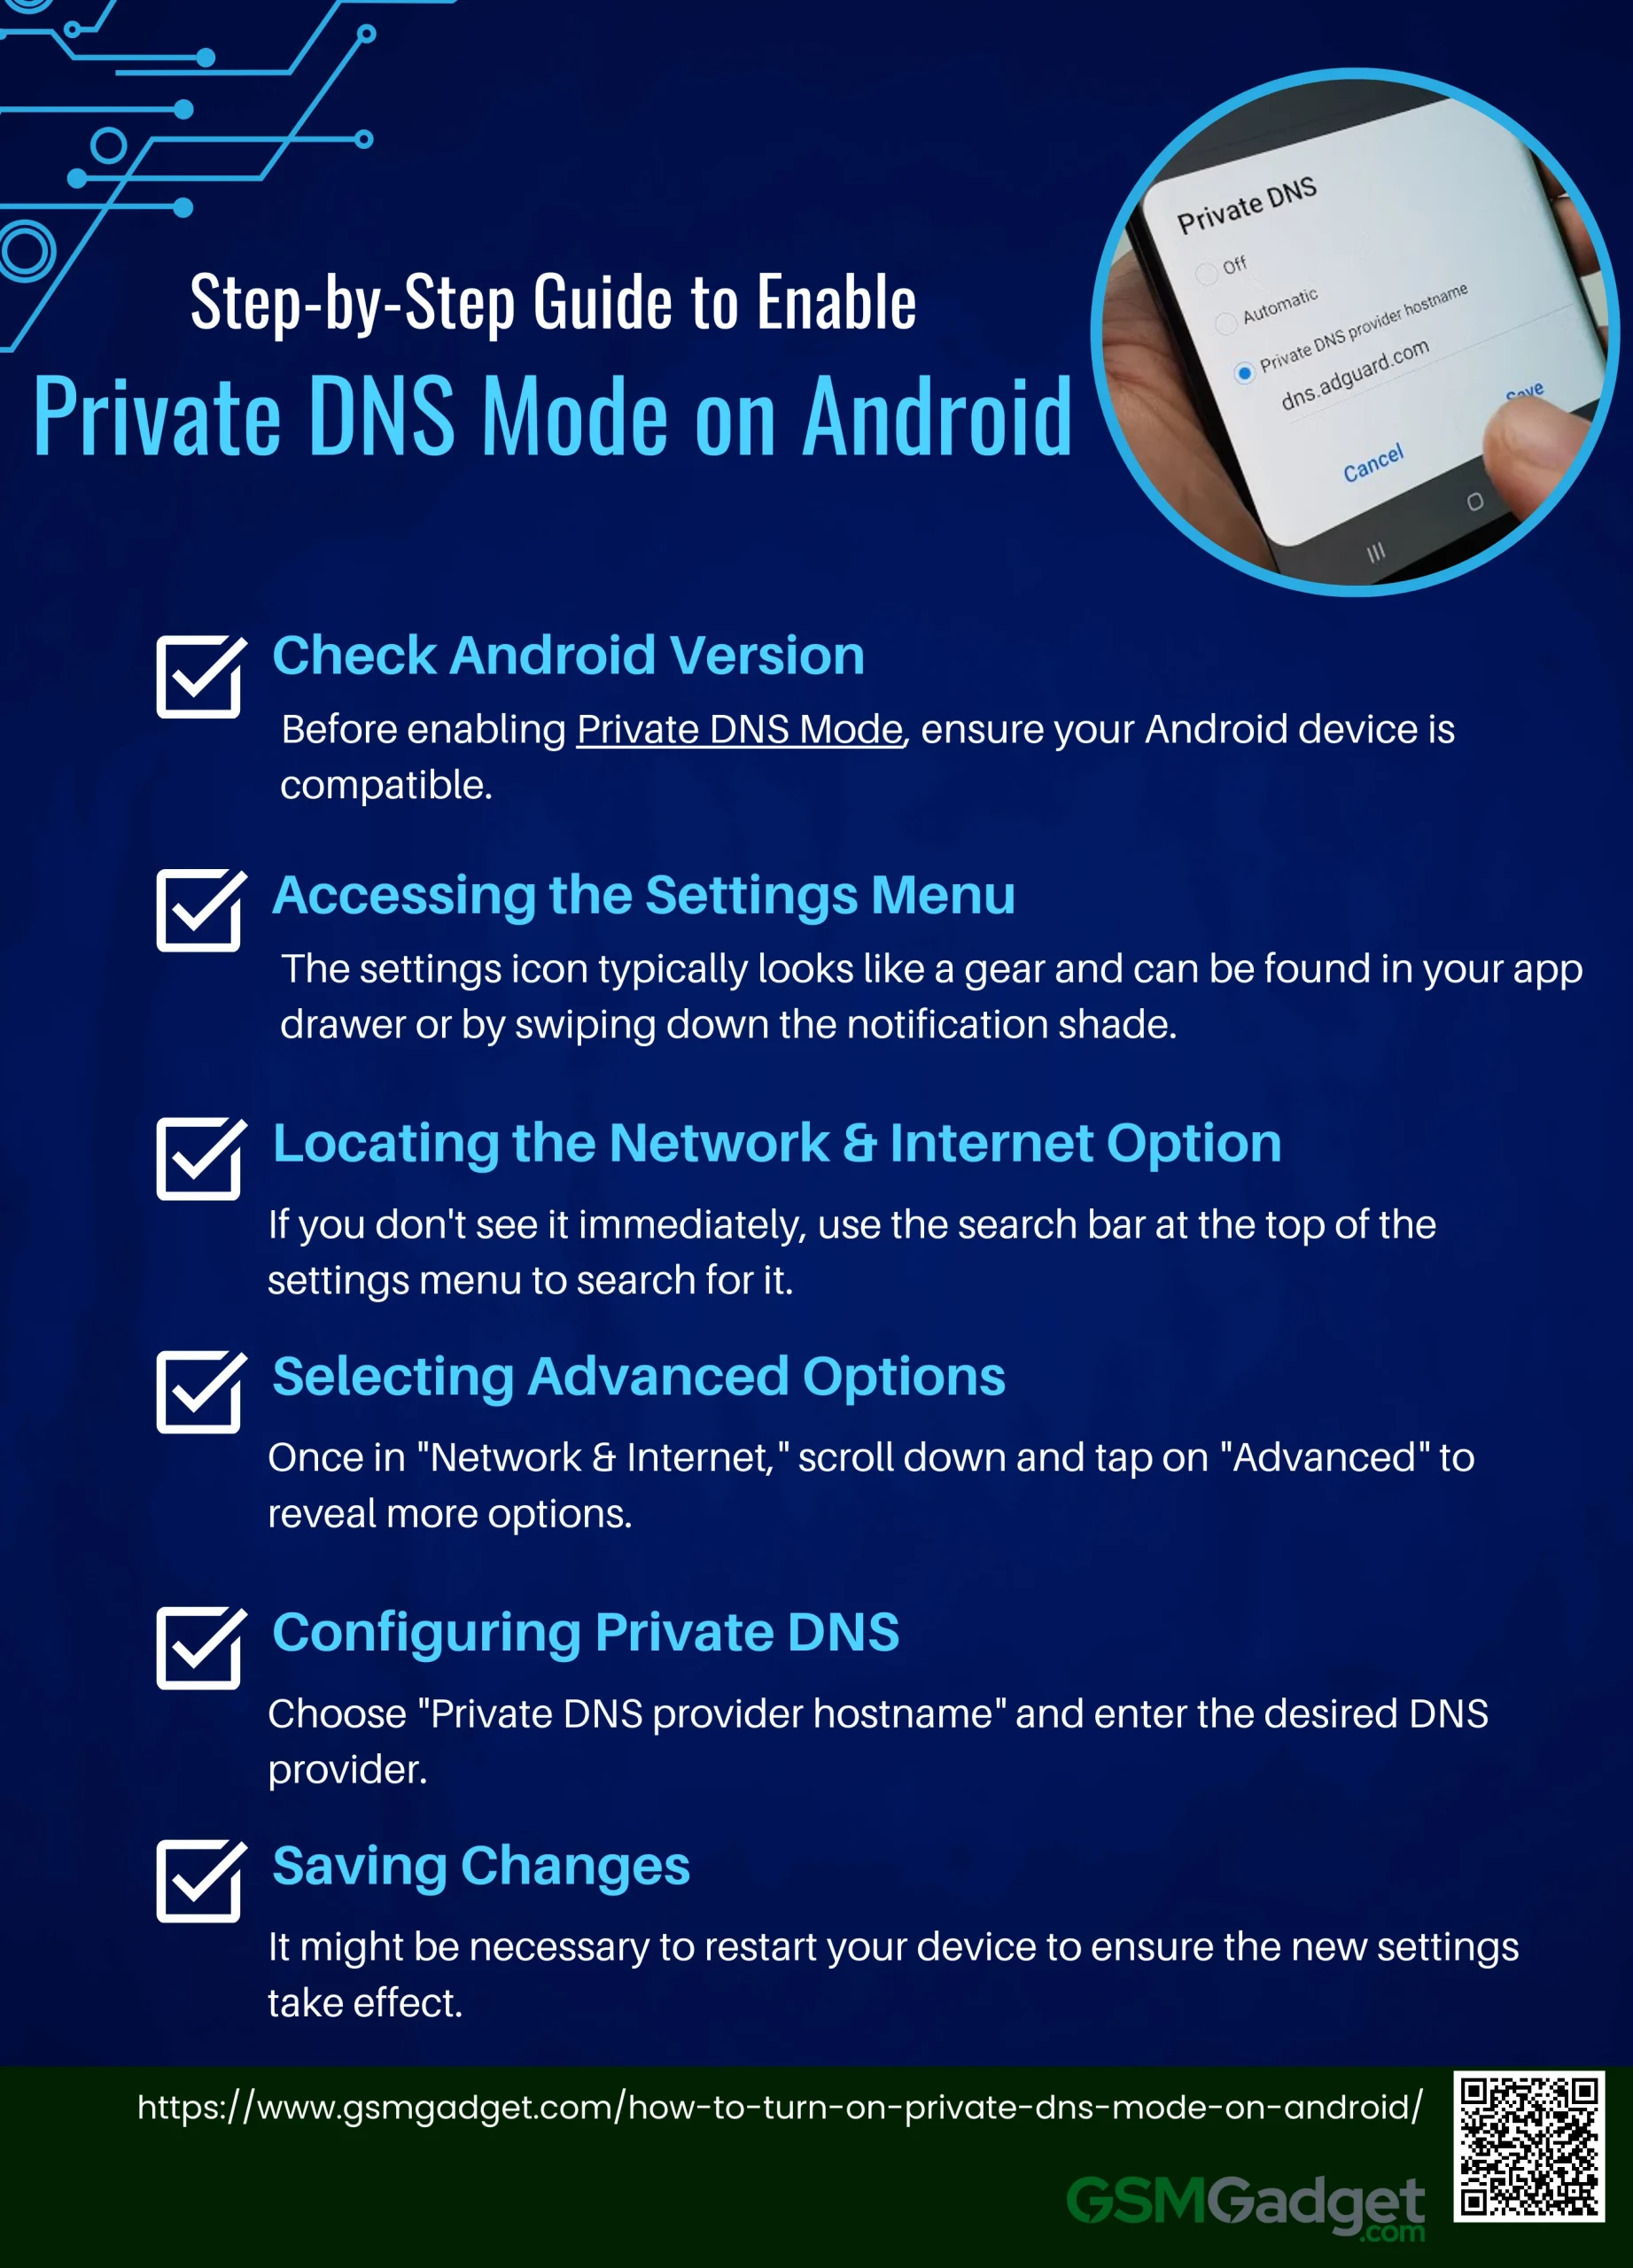
1. Check Android Version
Before enabling Private DNS Mode, ensure your Android device is compatible. Private DNS is supported on Android 9.0 and above. To check your Android version, go to “Settings,” scroll to “About phone,” and look for “Android version”.
2. Accessing the Settings Menu
To begin, open the “Settings” app on your Android device. The settings icon typically looks like a gear and can be found in your app drawer or by swiping down the notification shade and tapping on the gear icon.
3. Locating the Network & Internet Option
In the “Settings” menu, find and select Network & Internet. If you don’t see it immediately, use the search bar at the top of the settings menu to search for it.
4. Selecting Advanced Options
Once in “Network & Internet,” scroll down and tap on “Advanced” to reveal more options. This section includes various network settings that are not immediately visible.
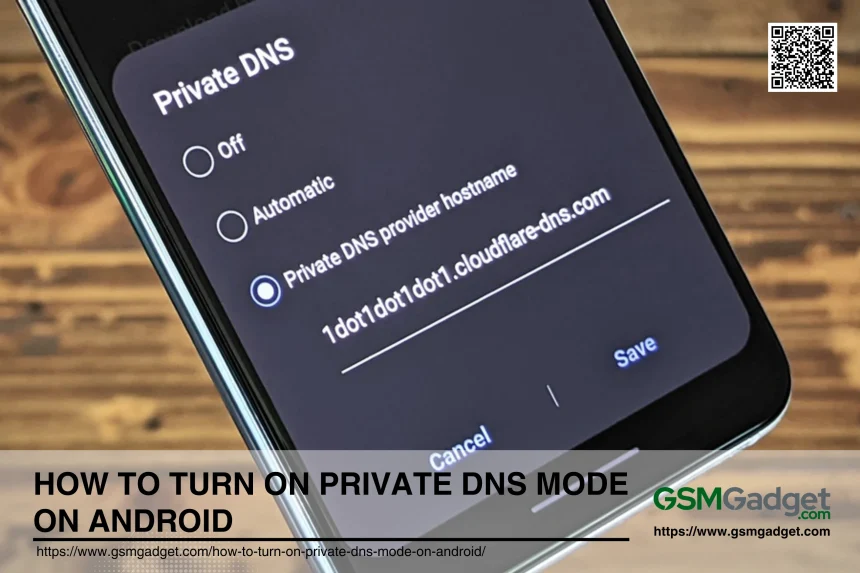
5. Configuring Private DNS
Tap on “Private DNS” within the advanced options. Choose “Private DNS provider hostname” and enter the desired DNS provider. Common options include:
- Google DNS: dns.google
- Cloudflare DNS: 1dot1dot1dot1.cloudflare-dns.com
- Quad9: dns.quad9.net.
6. Saving Changes
After entering the hostname, tap “Save” to apply the changes. It might be necessary to restart your device to ensure the new settings take effect.
Troubleshooting Common Issues with Private DNS Mode on Android
When troubleshooting common issues with Private DNS Mode on Android, start by ensuring that your device is running the latest version of the operating system, as updates often fix connectivity problems. Verify that the Private DNS provider’s hostname is correctly entered and that the provider’s service is operational. If you encounter connectivity issues, try switching to a different DNS provider to see if the problem persists. Additionally, check for any network restrictions or firewall settings that might be blocking DNS queries. Restarting your device and network equipment can also resolve temporary glitches.
Connection Problems
If you experience connection issues after enabling Private DNS on your Android device, the first step is to check the status of your Wi-Fi and mobile data. Ensure that you have a stable internet connection. If the problem persists, consider resetting your network settings, which can often resolve connectivity issues by restoring default network configurations.
Incorrect Hostname
An incorrect DNS provider hostname can prevent Private DNS from functioning correctly. Double-check the hostname you have entered for your DNS provider. Verify the spelling and format to ensure accuracy. For instance, common hostnames include dns.google for Google DNS and 1dot1dot1dot1.cloudflare-dns.com for Cloudflare.
DNS Not Supported
If your chosen DNS provider is not supported, try using an alternative provider. Some reliable options include:
- Google DNS: dns.google
- Cloudflare DNS: 1dot1dot1dot1.cloudflare-dns.com
- Quad9: dns.quad9.net
- OpenDNS: 208.67.222.222
- NextDNS: 45.90.28.0
Security and Privacy Implications of Private DNS Mode on Android
Enabling Private DNS Mode on Android significantly enhances security and privacy by encrypting DNS queries, preventing eavesdropping and manipulation by malicious actors. This ensures that your internet activity remains confidential, as DNS requests are hidden from ISPs and potential network attackers. However, it’s crucial to choose a reputable DNS provider to avoid potential data misuse or logging of your browsing activities. While Private DNS Mode offers robust protection, users should remain vigilant about their overall online security practices, including using secure connections (HTTPS) and keeping their devices updated.
Enhancing Security with Private DNS
Private DNS mode on Android significantly enhances security by encrypting DNS queries using DNS over TLS (DoT). This encryption prevents interception by hackers, reducing the risk of cyberattacks such as DNS spoofing. By routing DNS queries through secure channels, Private DNS ensures that your online activities remain protected from malicious actors, especially when using public Wi-Fi networks, which are often less secure. This added layer of security makes Android devices more resilient to potential threats compared to those using standard, unencrypted DNS services.
Privacy Benefits and Concerns
Private DNS offers substantial privacy benefits by preventing internet service providers (ISPs) and third parties from monitoring your browsing activity. By encrypting DNS queries, it shields your online behavior from surveillance, ensuring greater confidentiality. Additionally, Private DNS can help bypass regional restrictions, allowing access to content that may be blocked in certain areas.
However, there are privacy concerns to consider. While Private DNS encrypts queries, users must trust the DNS provider to maintain privacy standards and not log or misuse data. Some providers may still log certain data points, which could be a concern for privacy-conscious users. Furthermore, the dependency on third-party services introduces potential vulnerabilities if the provider experiences security breaches or service disruptions. Despite these concerns, the privacy and security enhancements offered by Private DNS make it a valuable tool for safeguarding personal data on Android devices.
Conclusion
Enabling Private DNS Mode on Android devices is a crucial step towards enhancing both security and privacy while browsing the internet. By encrypting DNS queries, this feature protects users from potential cyber threats such as eavesdropping and DNS spoofing, ensuring that online activities remain confidential. The benefits of using Private DNS include improved security against malicious attacks, enhanced privacy from third-party surveillance, and potentially faster DNS resolution. However, users should remain cautious and select reputable DNS providers to mitigate risks associated with data logging and breaches. Overall, adopting Private DNS Mode is an effective measure for users seeking to safeguard their digital presence in an increasingly interconnected world.
FAQS
- What is Private DNS Mode on Android?
Private DNS Mode is a feature on Android devices that allows users to encrypt DNS queries to enhance privacy and security. This helps prevent your internet activity from being tracked by third parties.
- How do I turn on Private DNS Mode on my Android device?
To enable Private DNS Mode, go to Settings > Network & internet > Advanced > Private DNS. Select Private DNS provider hostname and enter the DNS provider’s hostname, such as dns.google or 1dot1dot1dot1.cloudflare-dns.com, then tap Save.
- What are the benefits of using Private DNS Mode?
Using Private DNS Mode enhances your privacy by encrypting DNS queries, which prevents internet service providers (ISPs) and other entities from tracking your browsing activities. It can also improve security by preventing DNS spoofing attacks.
- Can I use any DNS provider with Private DNS Mode?
Yes, you can use any DNS provider that supports DNS over TLS, such as Google Public DNS or Cloudflare DNS. You need to enter the correct hostname for the provider in the settings.
- What should I do if my internet connection stops working after enabling Private DNS Mode?
If your internet connection stops working, it could be due to an incorrect DNS provider hostname or the provider not supporting DNS over TLS. Double-check the hostname or switch back to the default DNS settings.
- How do I disable Private DNS Mode on my Android device?
To disable Private DNS Mode, go to Settings > Network & internet > Advanced > Private DNS and select Off. This will revert your device to using the default DNS settings provided by your ISP.
- Will enabling Private DNS Mode affect my Wi-Fi connection?
Enabling Private DNS Mode should not affect your Wi-Fi connection. However, if the DNS provider you choose is unreliable, you might experience connectivity issues.
- Is Private DNS Mode available on all Android devices?
Private DNS Mode is available on Android 9.0 (Pie) and later versions. If your device is running an older version of Android, this feature may not be available.
- Can I use Private DNS Mode while connected to a VPN?
Yes, you can use Private DNS Mode while connected to a VPN. However, the VPN may override your DNS settings, depending on its configuration.
- How do I know if Private DNS Mode is working on my Android device?
You can check if Private DNS Mode is working by using online DNS leak test tools, which will confirm if your DNS queries are being encrypted and routed through the chosen DNS provider.